
Calibration and stock removal
Level timber or panels, remove machining marks and establish a consistent starting surface.
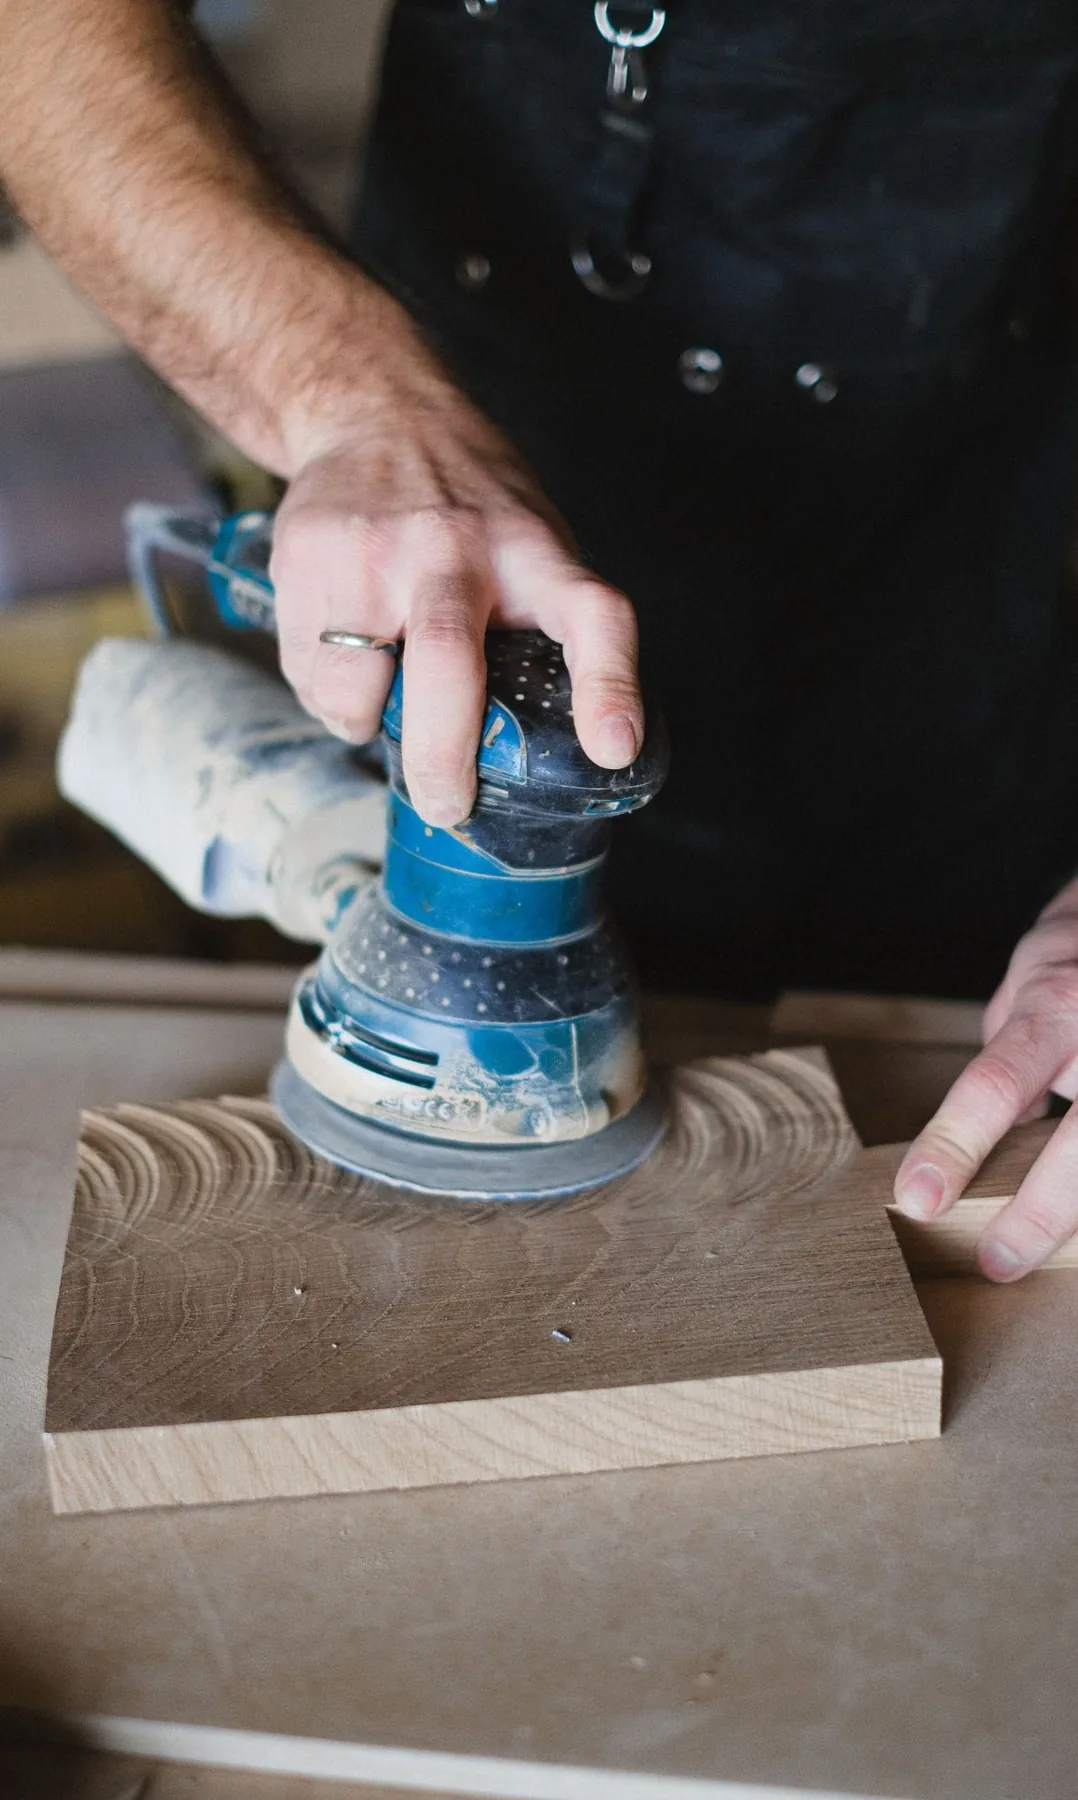
Abrasive belts, rolls, discs and sheets for timber, panels, furniture and coating preparation—supported by practical product and grit guidance.
The right abrasive depends on what must be removed and what process follows. Treat each stage as part of a sequence rather than choosing grit in isolation.
Level timber or panels, remove machining marks and establish a consistent starting surface.
Refine the previous scratch pattern while balancing cut rate, heat and surface quality.
Lightly level raised grain, nibs or sealed surfaces without uncontrolled cut-through.
Prepare a uniform surface for the next coating, polishing or finishing operation.
Machine condition, extraction, pressure, speed, workpiece and operator practice can change abrasive life and finish quality.
Review grit progression →Resin and dust reduce cut and finish quality. Check: extraction, coating density, pressure and abrasive condition.
Heat can discolour timber or glaze the abrasive. Check: pressure, speed, contact time and whether the abrasive is still cutting.
Stray coarse marks often appear after coating. Check: grit progression, contamination, damaged abrasives and inspection lighting.
Patchy sheen or uneven scratch patterns suggest process variation. Check: pad condition, technique, pressure and stage consistency.
This matrix is a starting point, not a product prescription. Confirm the machine, access, surface shape and finish requirement before ordering.
| Woodworking need | Belts | Rolls | Discs | Sheets |
|---|---|---|---|---|
| Wide panels and calibration | Primary machine format | — | Local correction | Inspection and hand work |
| Profiles and contours | Machine-dependent | Flexible hand or machine use | Suitable with compatible tools | Useful for detailed hand sanding |
| Furniture components | Edge and machine sanding | Bench or hand operations | Orbital and random-orbital work | Final hand preparation |
| Sealer and coating preparation | Where compatible | Flexible preparation | Controlled surface sanding | Edges, profiles and hand work |
Always trial the complete construction and grit sequence on representative material before wider production use.
Trials are especially important when timber species, coatings or machine conditions change.
Start with the least aggressive grit that removes the defect efficiently. Use controlled intermediate steps so each stage removes the previous scratch pattern without unnecessary sanding.
Loading may relate to resin, coating material, dust extraction, pressure, abrasive coating density or a worn abrasive. Review these variables together.
Confirm the machine model, required dimensions, attachment system, workpiece and contact method. A generic format name is not enough for a reliable recommendation.
Citra Oasis converts sanding belts to customer dimensions, subject to abrasive material, width, grit and construction availability.
Share your material, machine, dimensions, grit sequence and finish target. The quotation form prepares a WhatsApp message for your review.