
Defect levelling
Address runs, sags, dust nibs or repair transitions while preserving panel shape.
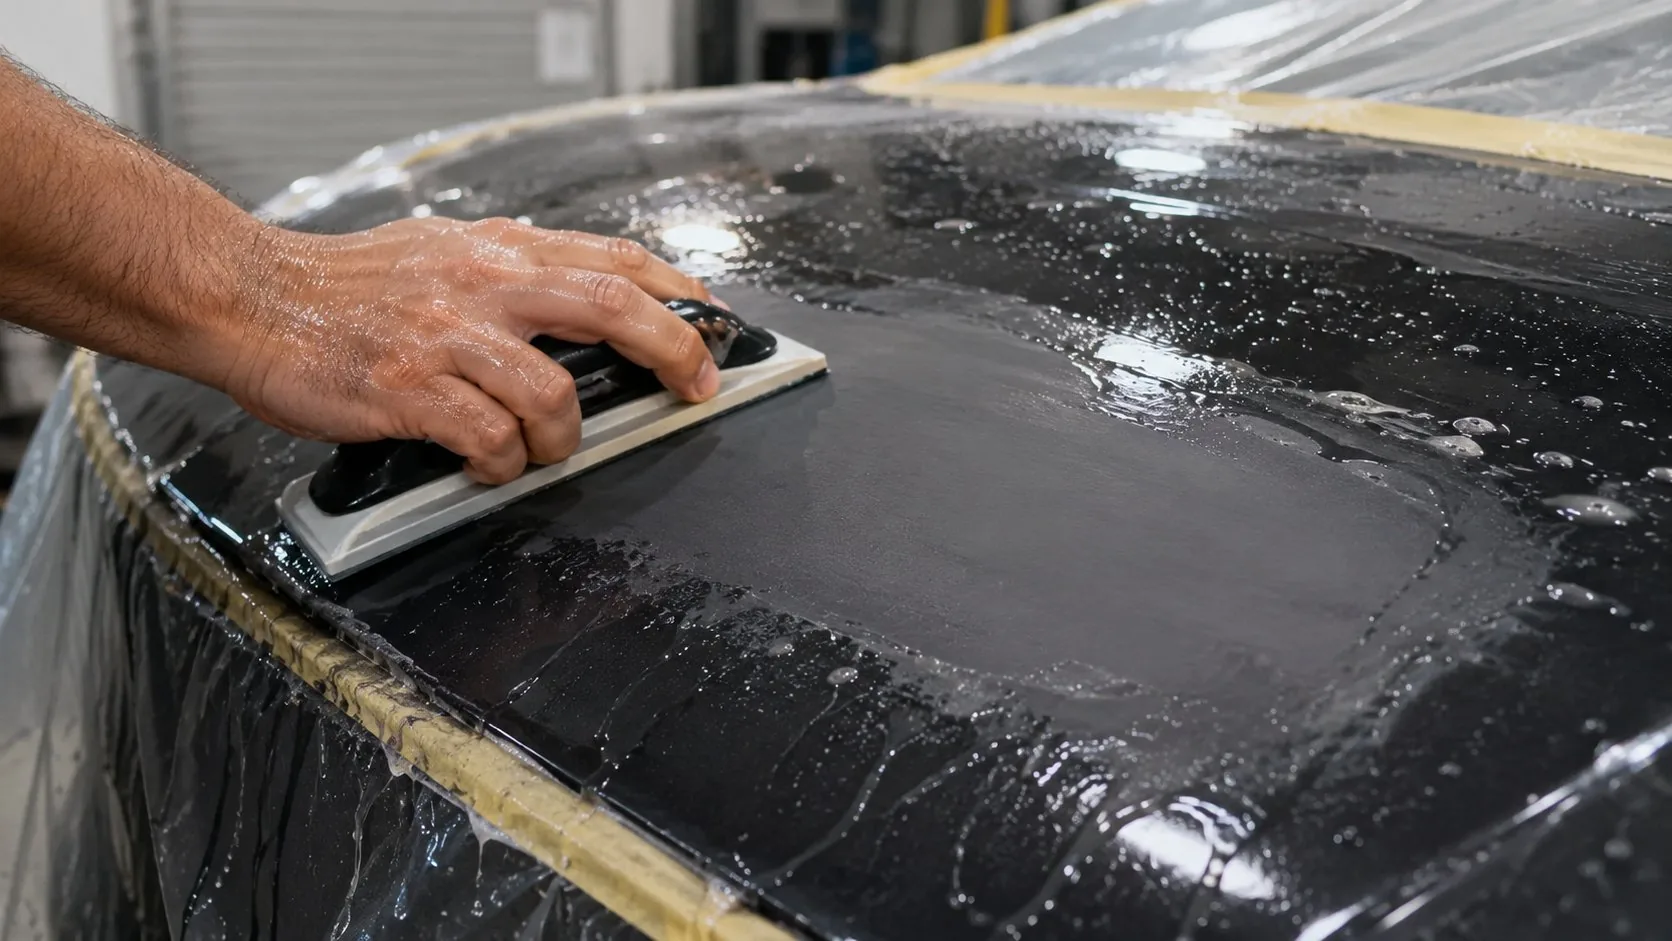
Waterproof and dry-sanding sheets, discs and rolls for paint, primer and surface preparation—chosen around the defect, process and finish required.
Each refinishing stage should remove the previous defect or scratch pattern without creating unnecessary rework for the next stage.
Address runs, sags, dust nibs or repair transitions while preserving panel shape.
Level and prepare primer according to the coating-system process.
Refine scratches and create a consistent surface for the following operation.
Minimise remaining marks and prepare the surface for the specified finishing step.
Inspect the pattern, location and stage where the problem appears before changing grit or format.
Review grit progression →Paint or primer builds up and reduces cut. Check: surface cure, abrasive condition, dust removal, pressure and wet/dry suitability.
Coarse marks remain after later stages. Check: contamination, grit jumps, cleanliness and whether each stage fully removed the last pattern.
Edges lose coating faster than broad panels. Check: pressure, backing support, technique and the need for a finer hand-controlled process.
Machine patterns remain after preparation. Check: disc condition, interface, orbit/tool technique and final refinement sequence.
Follow the coating-system instructions and workplace requirements. Use the comparison below as a starting point and follow the paint-system manufacturer's instructions.
Consider when: the refinishing process calls for wet use and the stage benefits from controlled fine preparation.
Consider when: the coating process permits dry sanding and the machine, dust control and finish target suit it.
Panel shape, sanding stage, tool, attachment system and required flatness determine whether sheets, discs or rolls are practical.
| Process need | Hand sheets | PSA / Velcro discs | Rolls | Important control |
|---|---|---|---|---|
| Flat panels | Use with suitable blocks | Compatible machine preparation | Cut for manual blocks | Maintain flatness and even pressure |
| Curves and contours | Flexible hand control | Use suitable pad/interface | Flexible pieces or strips | Avoid pressure concentration |
| Edges and tight areas | Fold or cut for access | Small compatible tools where suitable | Cut to narrow strips | Reduce cut-through risk |
| Final hand preparation | Primary controlled format | Process-dependent refinement | Convenient cut lengths | Keep surface and abrasive clean |
Trial on a representative test area before applying a revised sequence across the full vehicle or production batch.
Paint and primer systems differ. Follow the coating manufacturer’s process and validate abrasive changes before full application.
The choice depends on the sanding stage, paint system, defect, tool, dust control and finish requirement. Follow the paint-system instructions.
Use a controlled grit sequence, keep surfaces and abrasives clean, inspect between stages and ensure each stage removes the previous scratch pattern.
The answer depends on curve radius, access, stage and required flatness. Flexible sheets, suitable interface pads and compatible discs may each have a role.
Yes. A controlled trial on representative material helps assess scratch pattern, cut, loading and finish before broader use.
Share the coating stage, tool, current abrasive, grit sequence and wet/dry process so our team can help narrow the options.